
Aluminum Solar Panel Clips are used to secure wire mesh to solar panels

Aluminum Solar Panel Clips are used to secure wire mesh to solar panels
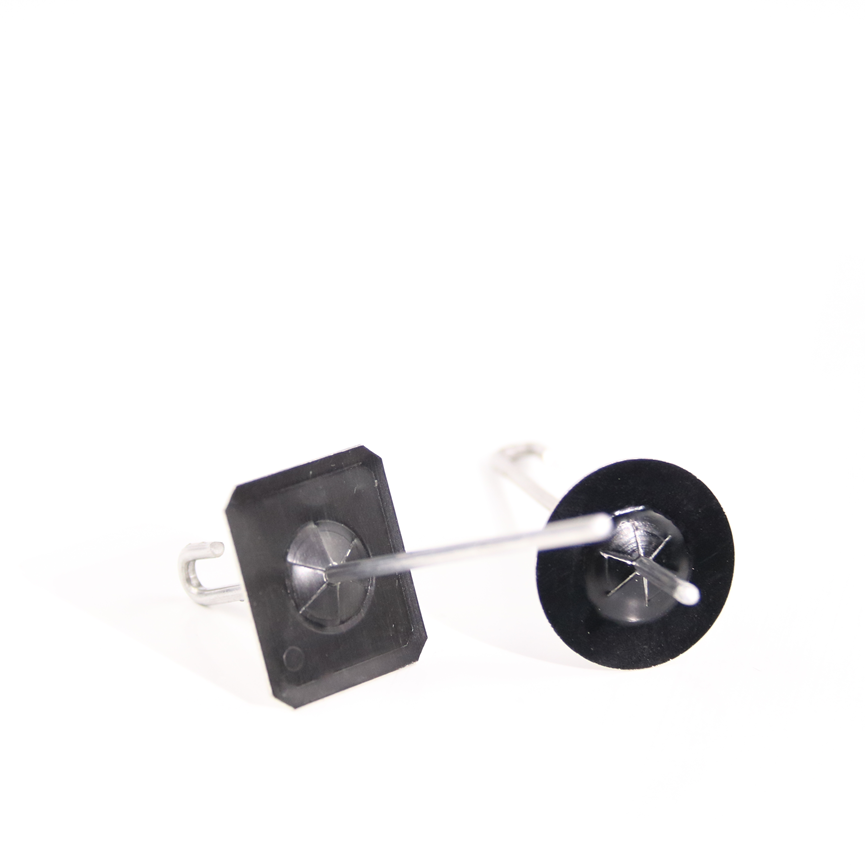
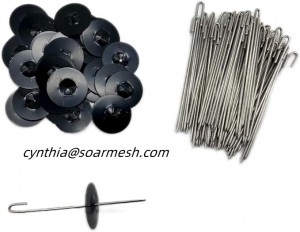
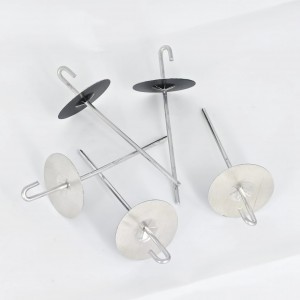
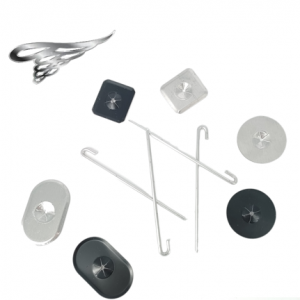
Aluminum Solar Panel Clips are used to secure wire mesh to solar panels. The number of clips needed will depend on the solar panel system.The solar clips do not pierce the solar panels. The clips are sold separately or with the solar panel kit, which is designed to protect the integrity of expensive solar arrays. The clips secure the mesh, which creates a physical barrier to keep birds from accessing and nesting in the area beneath the solar array
Color: silver
Material: stainless steel 304/316 or galvanized
Package: packed with cardboard box
The diameter for the self-locking washer: 25mm,32mm,38mm,40mm,50mm
Samples: Samples are free for customers
Specification: all kinds of specification customers asked can be customized accordingly
QTY needed for installation: The number of clips needed will depend on the solar panel system.
Calculating the necessary number of clips: Use 2 clips for the short side of every exposed edge of a panel and 3 clips for the long side of every exposed edge of a panel.
Features:
Clips bind the mesh to the panels without drilling holes or damaging the system – recommended every 45 centimeters.
Discrete solution, especially when coupled with our Black PVC- Coated Galvanized Solar Panel Mesh
Main Features
1: Does not violate panel integrity.
2: It can easily be trimmed or bent after assembly.
3: Install and remove quickly and easily
4: The specification can be customized
5: The clips are sold separately or with the solar panel mesh
Aluminum Solar Panel Clips and Mesh Kit Installation Guide
Place provided clips with every 30-40cm along the underneath of the solar panel frame and pull tight.
Roll out the solar panel mesh and cut into manageable 2metre lengths for easier handling. Position the mesh in place, making sure the fastening rod points upwards so it keeps a downward pressure on the mesh to create a firm barrier to the roof. Allow the bottom to flare out and curve along the roof, this will ensure rodents and birds cannot access under the mesh.
Attach the fastening washer and push firmly to the end to tightly secure the mesh.
When joining the next section of mesh, overlay approximately 10cm and join the 2 pieces with cable ties to create a complete barrier.
For outer corners; cut upwards from the bottom until the bend point. Cut a section of mesh to cover any gaps using cable ties to fix the corner piece in place.
For inner corners: cut the mesh upwards from the bottom until the bend point, secure any overlay sections together using cable ties.
Products categories
-

Solar Panel Guard Clips Aluminum Fastener Bird ...
-

Solar Panel Bird Guard Fastener Clips stainless...
-
50 Sets Critter Guard Aluminum Fastener Clips f...
-
Solar Bird control solar panel wire mesh instal...
-
Black Solar Panel Bird Guard Wire Mesh Clips Bi...
-

j hook aluminium accessory for solar panel mes...